
DIY Paving: What You Need to Know Before You Start


Understanding the Basics of DIY Paving
Embarking on a DIY paving project can be a rewarding endeavor, but it's crucial to understand the fundamentals before diving in. Whether you're paving a driveway, walkway, or patio, having a clear plan and the right materials can make all the difference. This guide will walk you through the essential steps and considerations to ensure your project is successful.
The first step in any paving project is assessing the area you plan to pave. Consider the size, shape, and intended use of the space. This will help you determine the type and amount of materials you'll need. It's also important to check for any underground utilities or drainage issues that might affect your project.
Choosing the Right Materials
Your choice of materials can significantly impact the durability and appearance of your paved area. Common options include concrete, brick, and natural stone. Each material has its unique benefits and drawbacks, so it's important to choose one that aligns with your aesthetic preferences and functional needs.
Consider the climate in your area and how it might affect the materials. For instance, freeze-thaw cycles can cause certain materials to crack or shift over time. Additionally, think about how much maintenance you're willing to perform. Some materials, like natural stone, may require more upkeep than others.
Calculating Material Quantities
Once you've selected your paving material, you'll need to calculate how much you'll need. This involves measuring the area accurately and factoring in any patterns or designs you plan to incorporate. It's always a good idea to purchase a little extra material to account for cutting and potential mistakes.

Preparing the Site
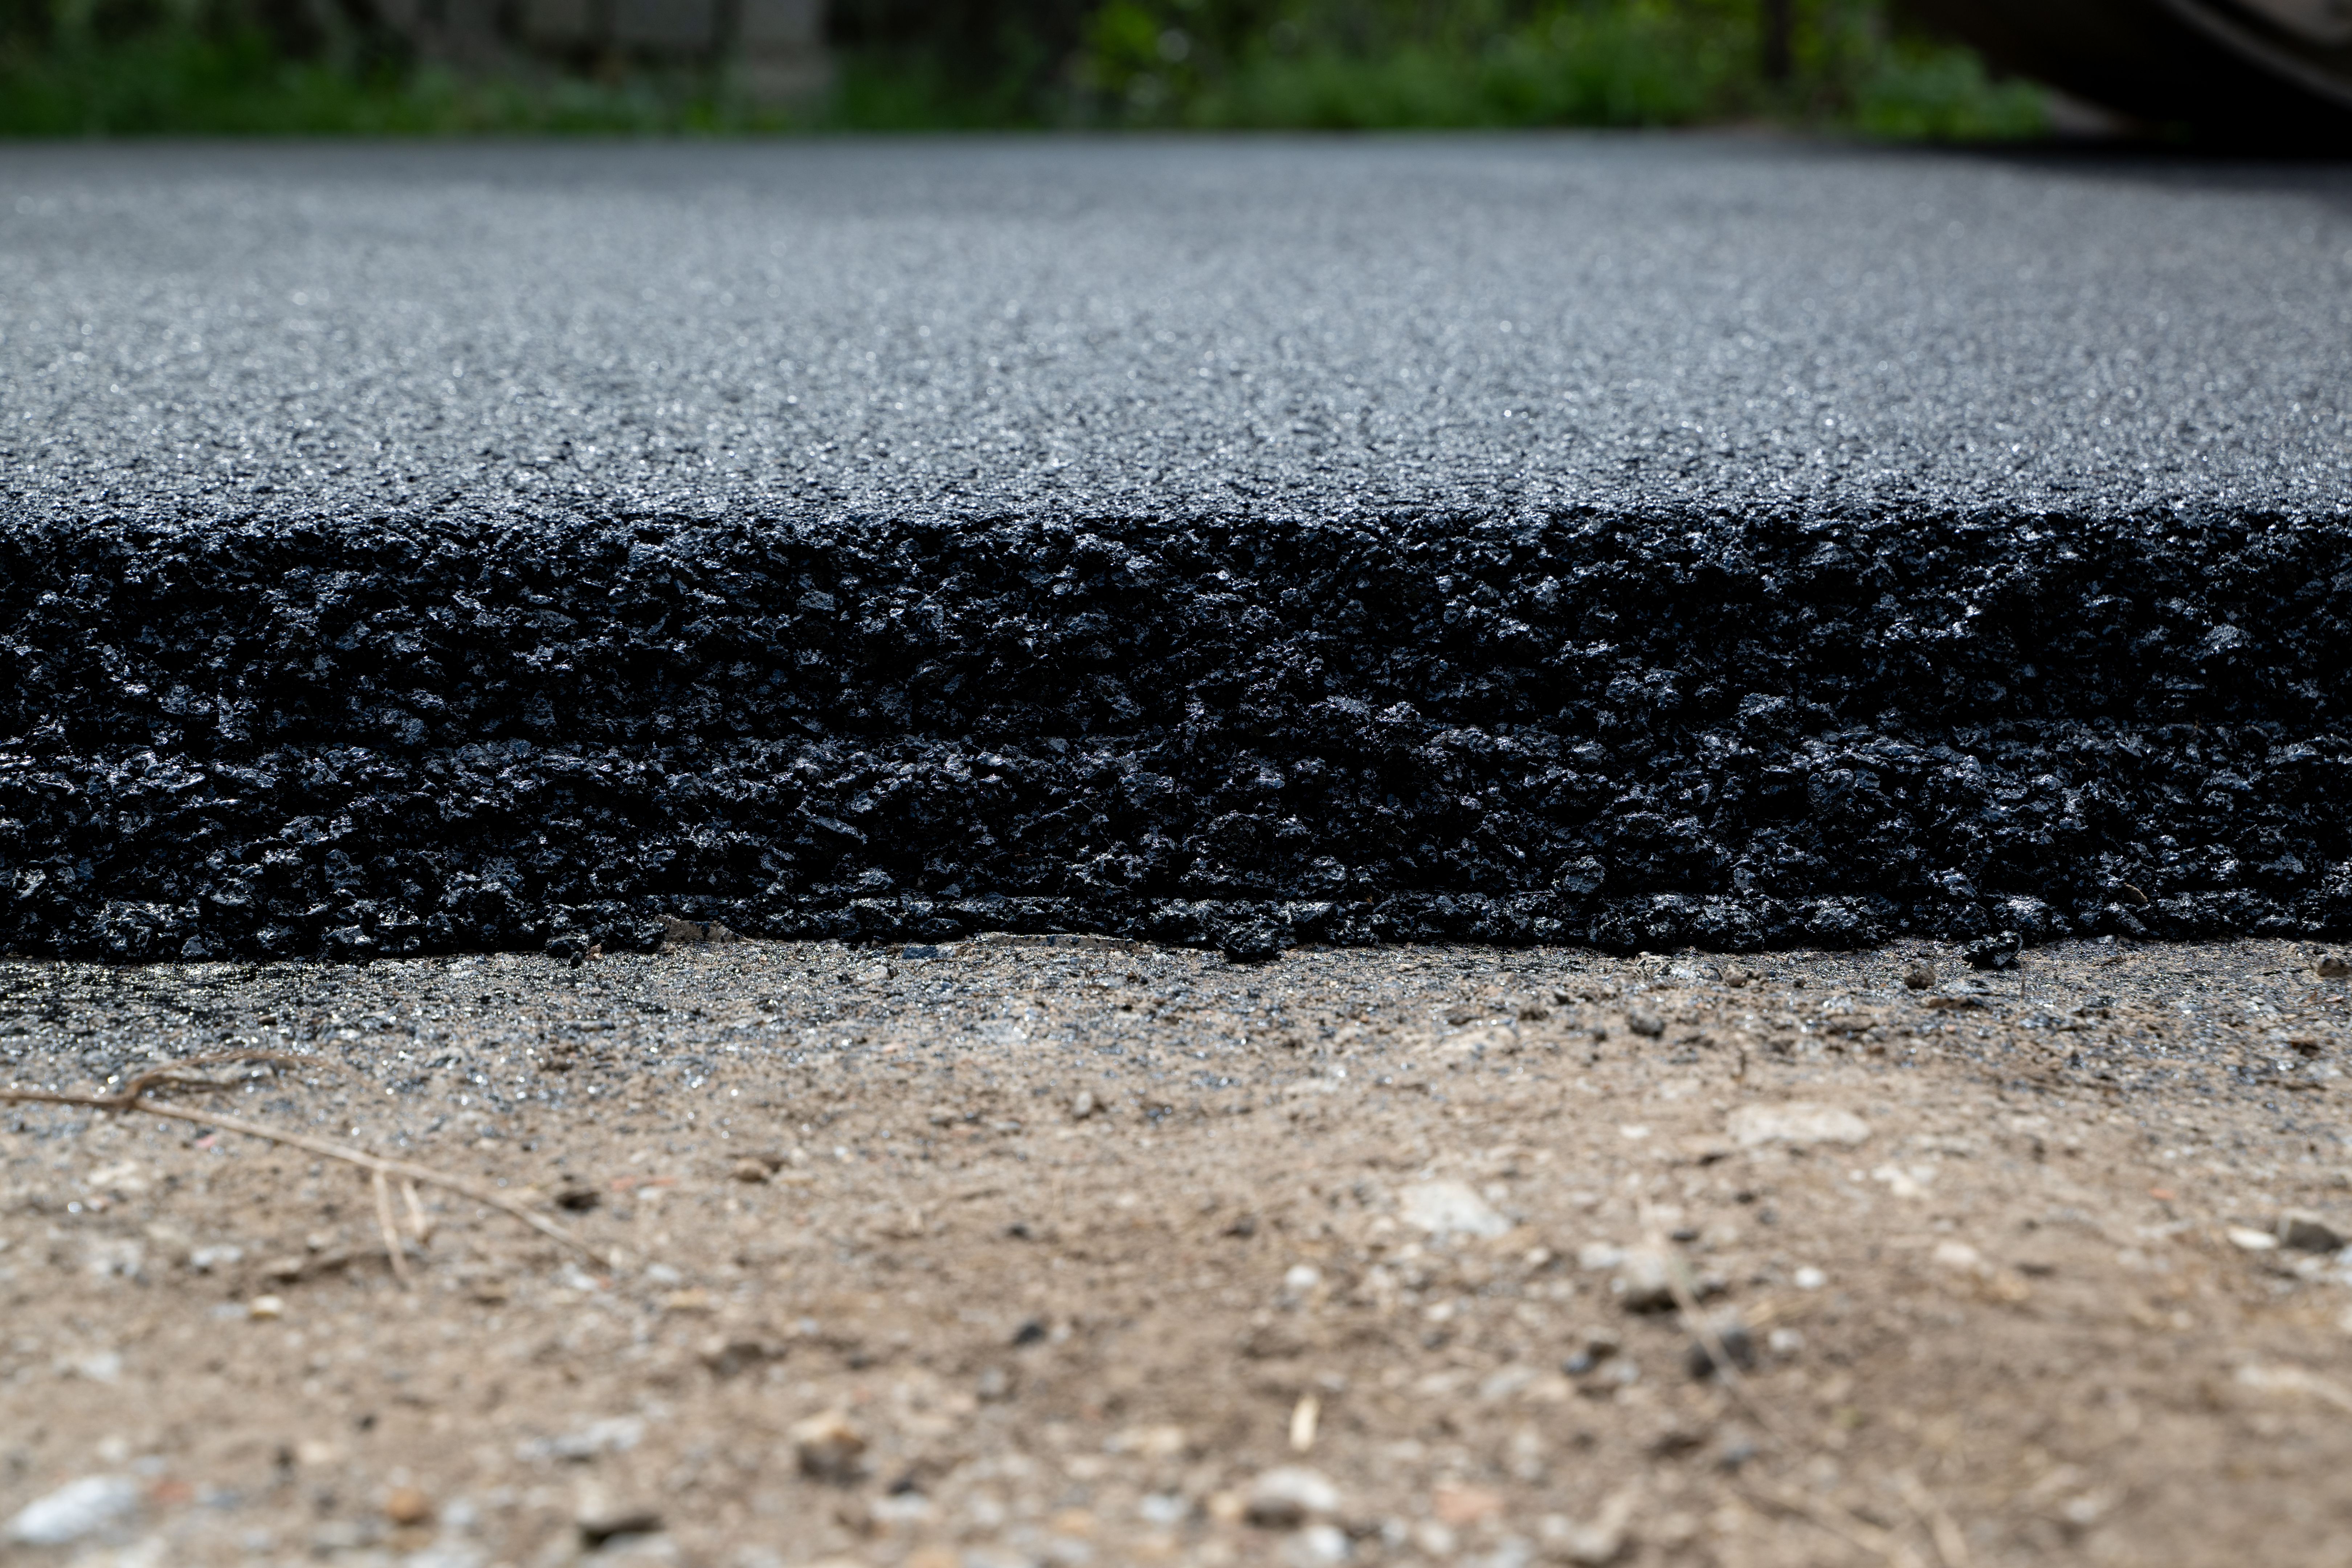
Preparation is key to a successful paving project. Start by clearing the area of any debris, vegetation, or old paving materials. You may need to excavate the site to a certain depth, depending on the type of paving you're doing. Be sure to create a solid base by compacting the soil and adding a layer of crushed stone or gravel.
Proper drainage is essential to prevent water pooling on your paved surface. Ensure that the base is graded correctly so that water flows away from structures and doesn't collect in unwanted areas. This step is crucial for maintaining the integrity of your paving over time.
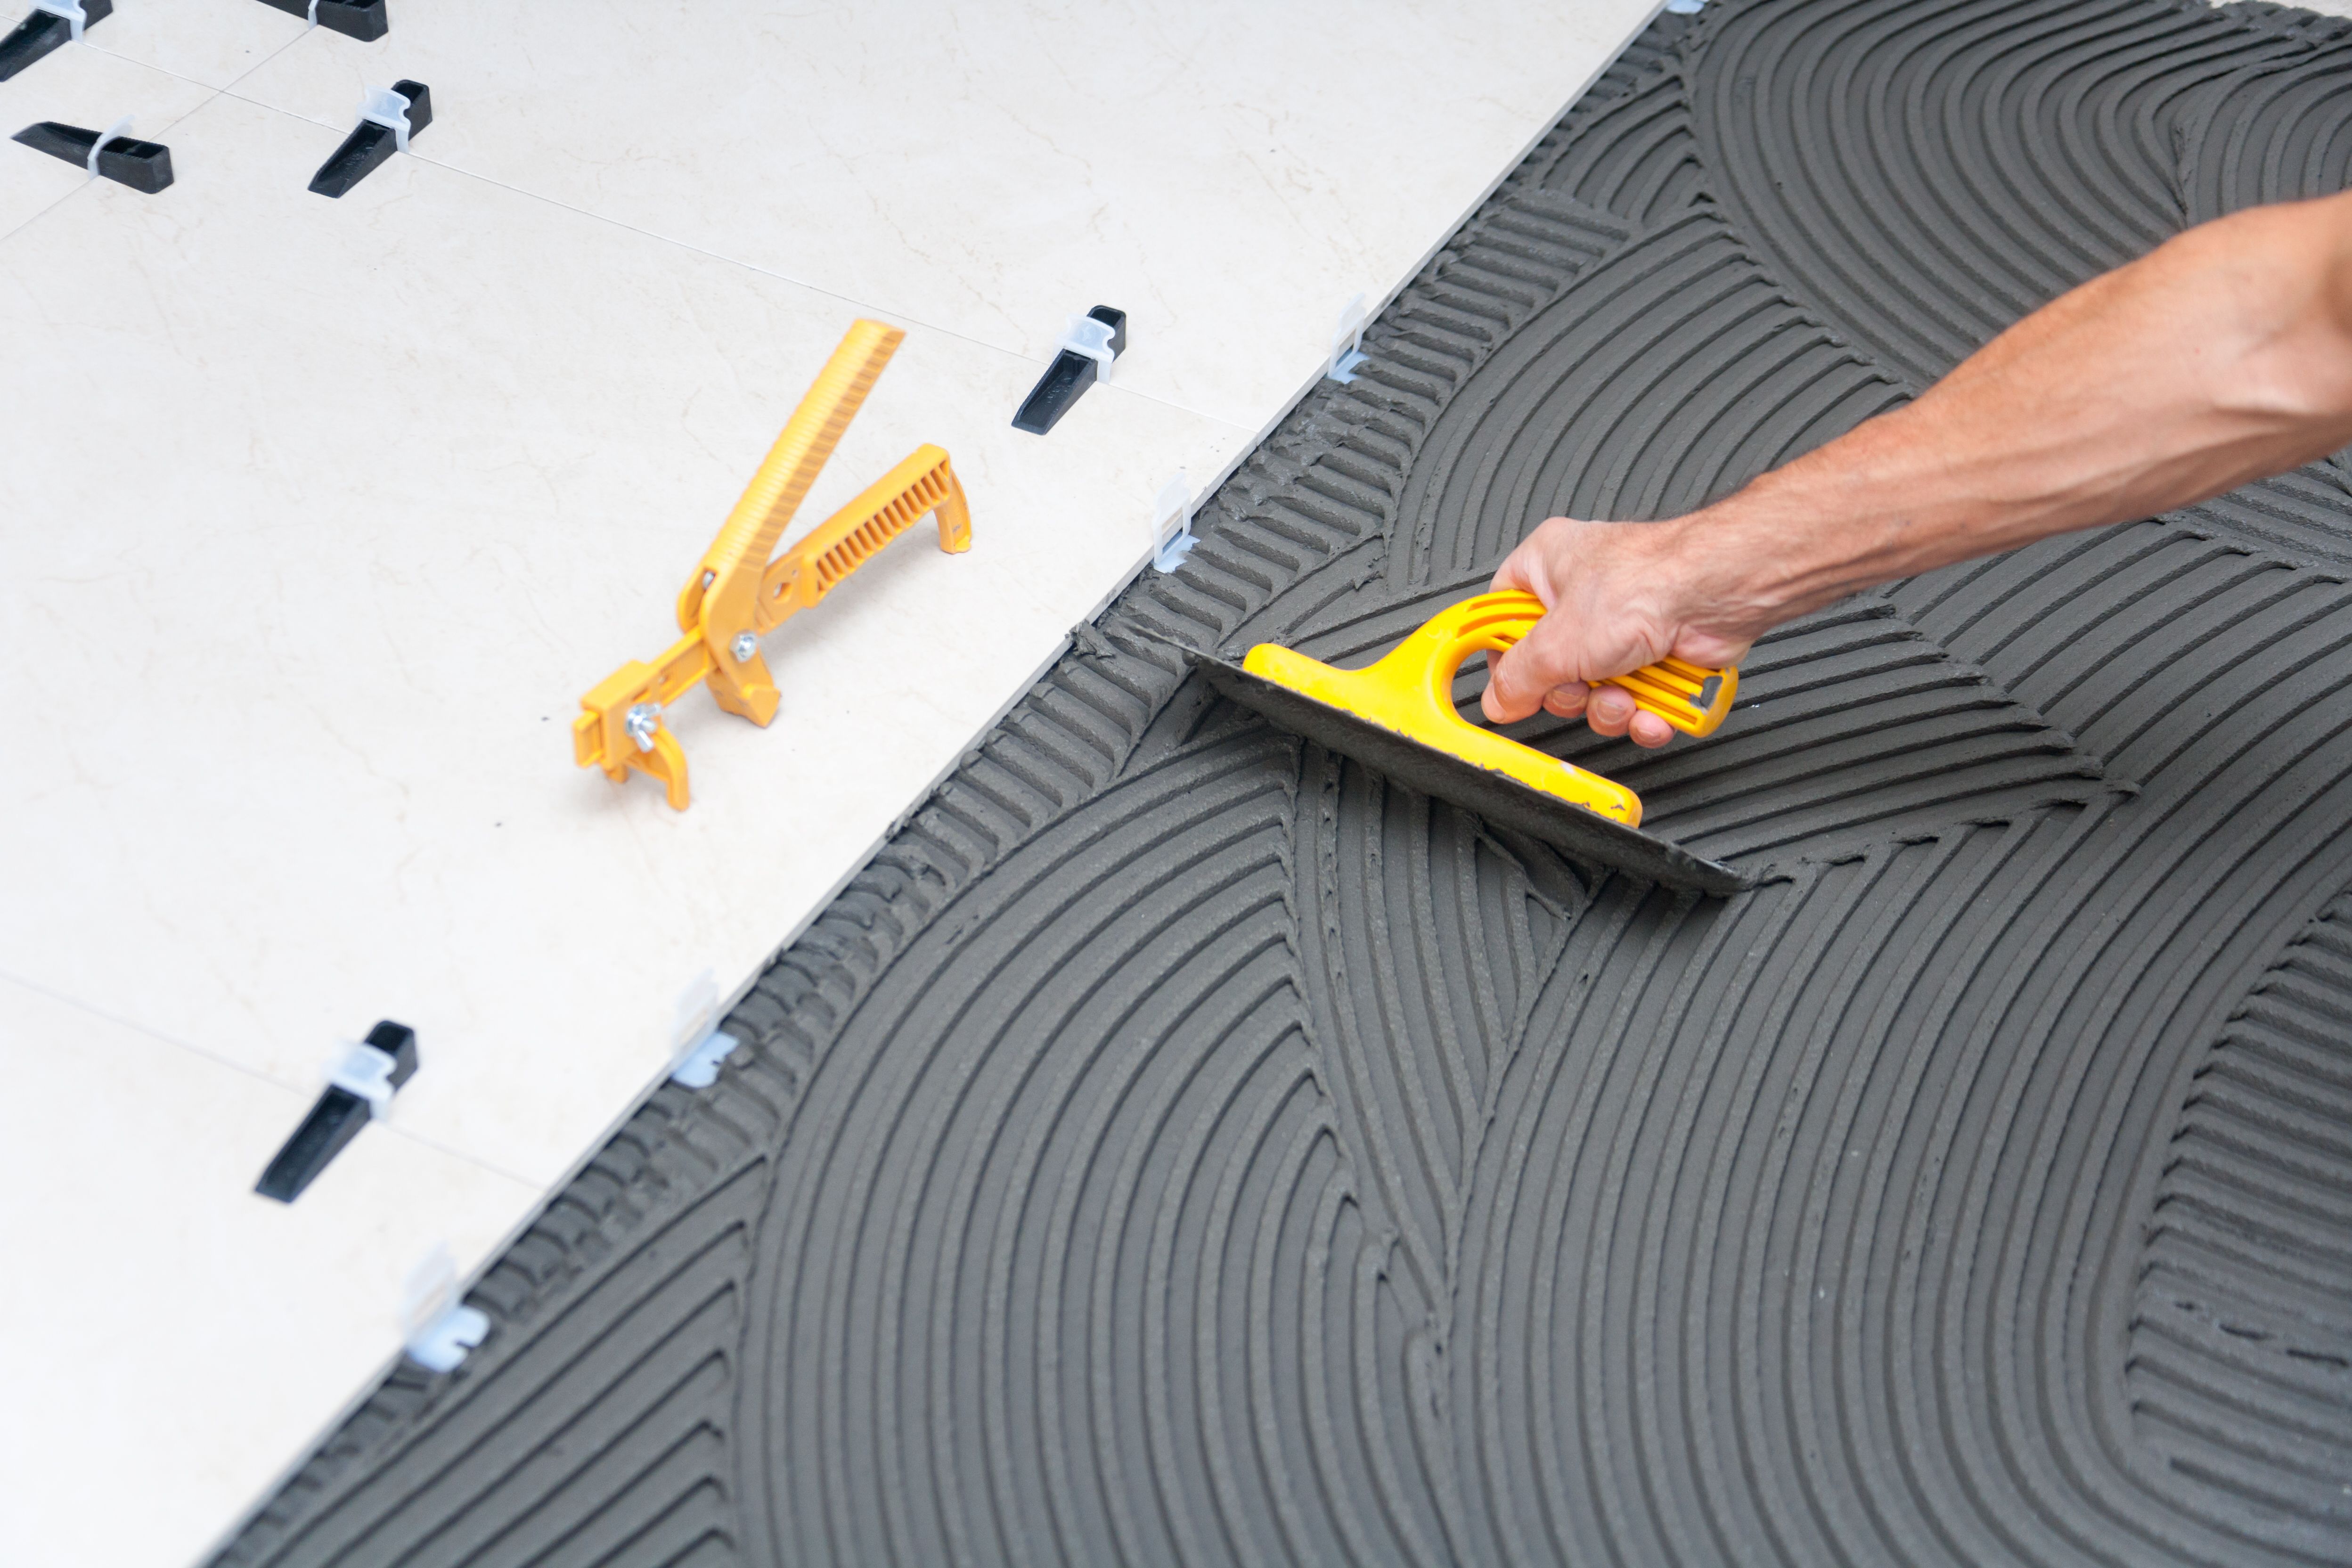
Laying the Pavers
With the site prepared, it's time to start laying your pavers. Begin at one edge and work your way across, ensuring each paver is level and snug against its neighbors. Use spacers if necessary to maintain consistent gaps between pavers, which will be filled with sand later.
As you lay each paver, occasionally check for levelness with a spirit level. Making adjustments as needed will prevent uneven surfaces that could lead to tripping hazards or water pooling.
Finishing Touches
Once all pavers are laid, sweep sand into the joints between them to lock them in place and provide stability. Use a plate compactor to ensure everything is securely set. Finally, seal your paved area if desired, which can enhance its appearance and protect it from weather damage.

Common Mistakes to Avoid
Even with careful planning, mistakes can happen. Some common pitfalls include not preparing the base properly, neglecting drainage considerations, and underestimating the amount of material needed. Being aware of these potential issues can help you avoid them and save time and money in the long run.
Finally, don't rush the process. Allow adequate time for each step of your paving project, particularly during preparation and laying phases. A well-executed paving job can add significant value and appeal to your property, making patience a worthwhile investment.